
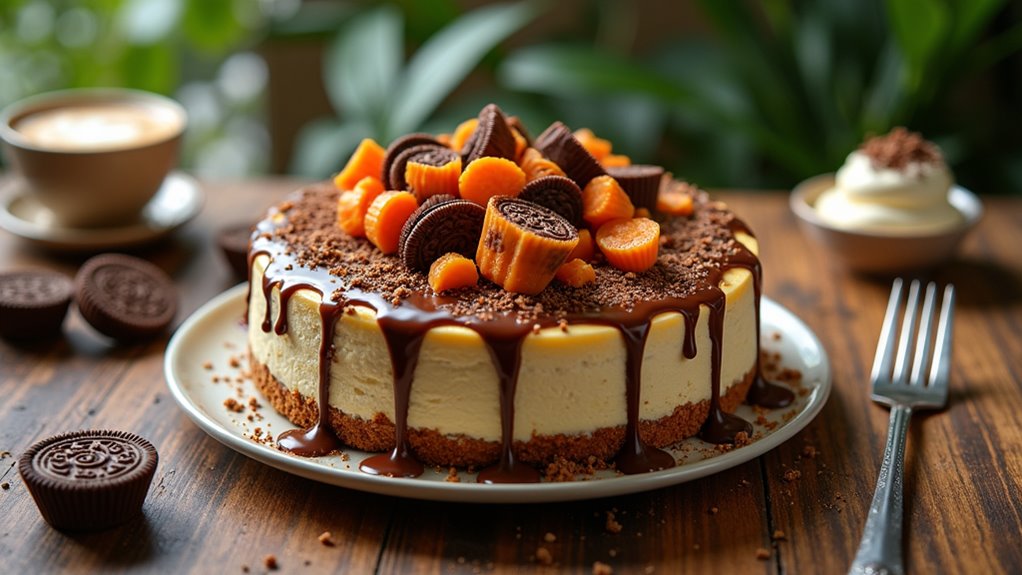
When I first tried making a Reese’s Cheesecake, I didn’t expect to end up licking the spatula and questioning all my life choices. Seriously, who knew cream cheese and peanut butter could create such magic? If you’re a fan of sweet, creamy treats that also have a little crunch, this recipe’s for you. Trust me, your taste buds will thank you. And believe me, you’re gonna want to stick around for the tips on perfecting this delight.
Why You’ll Love This Recipe
If you’re anything like me, you know the sweet struggle of deciding between cheesecake and chocolate-peanut butter treats—so why not have both? That’s where this Reese’s cheesecake comes in.
Creamy, rich, and oh-so-satisfying, it’s a dessert that’ll make you forget every other option. The combination of smooth cream cheese and peanut butter is pure magic, and when you fold in chopped Reese’s, well, it’s a game-changer.
The balance of flavors is just right, sweet but not overwhelming. Plus, when you serve it, people will think you’re a dessert wizard. Trust me, this cheesecake doesn’t just taste amazing; it feels like a warm hug for your taste buds. Who could resist that?
Equipment List
Making this Reese’s cheesecake doesn’t just require a heart full of love for dessert; it also calls for some trusty kitchen gear. First up, you’ll need a springform pan—trust me, it’s a lifesaver for easy removal, much like a soufflé dish enhances the baking process for delicate desserts.
You can’t forget a mixing bowl for that creamy goodness, plus a hand mixer or stand mixer to whip things up smoothly. A spatula is essential for folding everything just right, and if you want to get fancy, grab a knife to chop those Reese’s up nicely.
Finally, a roasting pan for the water bath is key; it helps keep the cheesecake moist. With the right tools in hand, you’re practically halfway to cheesecake heaven, right? Additionally, having a quality baking sheet set can help you flawlessly prepare any crust or toppings you might want to add.
Our Ingredients
When it comes to whipping up an indulgent Reese’s cheesecake, having the right ingredients on hand is the secret to making magic happen in your kitchen. You want to grab everything you need before you jump in, so the whole baking experience is smooth sailing.
It feels good to have a well-stocked counter when those cravings hit, doesn’t it? Plus, these ingredients come together to create that irresistible flavor that peanut butter and chocolate lovers dream about. So, let’s get your shopping list ready!
Here’s what you’ll need:
- 24 oz of cream cheese
- 1 cup of sugar
- 2 tbsp of flour
- 1/2 cup of sour cream
- 1/2 cup of peanut butter
- 1 tsp of vanilla extract
- 3 eggs
- 1 cup of chopped Reese’s Peanut Butter Cups
- Graham cracker crust or Oreo crust
Now, a quick note to reflect upon while you’re gathering your ingredients: freshness is key. Cream cheese, for example, can really make or break the smoothness of your cheesecake.
Try to buy it a week or two before you plan to bake this delight—just a little tip from someone who learned the hard way. Also, if you’re feeling particularly adventurous and want to make this recipe your own, think about mixing in a little sea salt to the peanut butter or maybe adding some chocolate chips for an extra layer of decadence.
Trust me, nobody’s going to complain about more chocolate, right? So gather your ingredients, get a little prep done, and you’ll be ready to make cheesecake magic happen.
Step-by-Step Instructions
Making a Reese’s cheesecake isn’t just about the ingredients; it’s about the experience in your kitchen. Mixing the batter is quick and simple—just follow these easy steps and prepare to wow your taste buds with a creamy delight. Let’s explore how to create this scrumptious dessert that’ll leave everyone asking for seconds.
1. Preheat Your Oven: Start by preheating your oven to 325°F. This prepares the space for baking magic to happen. Meanwhile, grab your graham cracker or Oreo crust and place it in a springform pan. Bake the crust for 8-10 minutes until it’s lightly golden. (Golden crust = happy cheesecake.) An essential wooden spoon set is a must-have for mixing your ingredients effortlessly.
2. Cream the Base: In a mixing bowl, beat 24 oz of cream cheese using an electric mixer until it’s smooth and creamy. Add in 1 cup of sugar and 2 tablespoons of flour, and mix until combined. You’re looking for a velvety texture here—nothing chunky, please. (Think smoother than your favorite jazz playlist.)
3. Add the Good Stuff: Next, add in 1/2 cup of sour cream and 1/2 cup of peanut butter to the bowl, followed by 1 teaspoon of vanilla extract. Mix until everything is well incorporated.
Then, add the eggs one at a time (you’ll need 3 eggs), mixing after each addition. The batter should be smooth and thick, like a peanut butter dream. (No one wants chunky cheesecake.)
4. Fold in the Reeses: Gently fold in 1 cup of chopped Reese’s Peanut Butter Cups with a spatula. This is where the magic really happens; those chocolatey, peanut buttery bits will make every bite unforgettable. (Just picture the happy faces when they taste it.)
5. Pour and Prep for Baking: Carefully pour the cheesecake mixture into your prepared crust. Tap the pan lightly on the counter to release any air bubbles—nobody likes a bumpy cheesecake. (Just don’t drop it, okay?)
6. Bake in a Water Bath****: Now, put the springform pan into a larger roasting pan and fill the outside with hot water, creating a water bath. Bake the cheesecake at 300°F for about 85 minutes. You want the center to be set but still jiggly—like a happy dance, not a full-on shimmy.
7. Let It Cool Properly: Once baked, turn off the oven and let the cheesecake cool inside, starting with the door closed for 30 minutes. Then crack the door open and let it cool for another 30 minutes.
This allows the cheesecake to cool slowly, preventing any cracks. (Trust me, a cracked cheesecake is like a sad punchline. Keep it together.)
8. Chill Out: After the cool-down, refrigerate your cheesecake for 5-6 hours or overnight if you can resist. This is the hardest part, waiting, but it’s so worth it. The cheesecake will set perfectly, and the flavors will meld into pure bliss. Also, consider using silicone lids to cover the cheesecake—this keeps it fresh while it chills in the fridge!
There you have it—a step-by-step guide to baking a Reese’s cheesecake that dreams are made of. Remember, patience is key in baking. Enjoy the process, get a little messy, and savor the results. Who knew making cheesecake could be this fun?
Tips & Variations
Although it might seem like a straightforward recipe, there are so many fun twists and personal touches you can add to your Reese’s cheesecake that make it truly your own.
Want a nutty crunch? Throw in some chopped pecans or walnuts along with your Reese’s. Feeling adventurous? Swirl in some chocolate or caramel sauce before baking, and watch the magic happen.
You could even experiment with different crusts—Oreo crust? Yes, please! And if you want to jazz it up for a party, decorate the top with whipped cream and more Reese’s cups. Trust me, it’ll be a hit.
Just remember, if things don’t turn out perfect, you still get to eat cheesecake, and that’s never a bad thing.
How to Serve?
After all that hard work whipping up the most dreamy Reese’s cheesecake you can imagine, it’s time to think about how to serve this masterpiece.
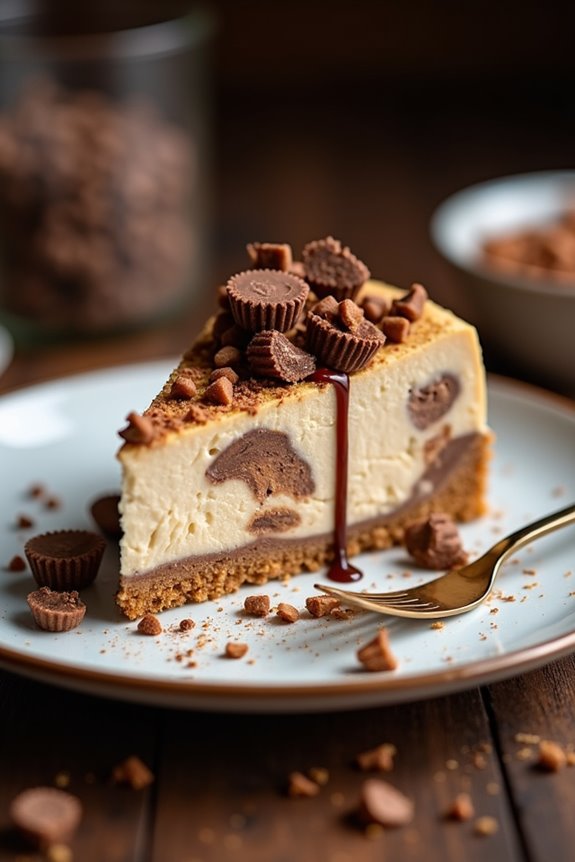
First, I like to slice it into generous pieces—nobody wants a tiny slice of this goodness. If you’re feeling fancy, add a drizzle of chocolate sauce or some whipped cream on top. You could even toss on extra chopped Reese’s cups for that wow factor.
Don’t forget to have forks ready; people will be digging in fast. And trust me, the smiles you’ll get will make all the effort worth it.
Just remember, it’s a cheesecake party, and everyone’s invited. So, who’s ready for a slice?
Storage & Reheating Guide
Once you’ve whipped up your incredible Reese’s cheesecake and indulged in a couple of slices (or maybe the whole thing—no judgment here), you’ll want to know how to store those leftovers properly.
First, I recommend cutting the cheesecake into slices. Trust me, it makes it easier later on.
Next, pop each slice in an airtight container or wrap it tightly with plastic wrap. You can refrigerate it for about a week, and it’ll still taste fantastic. Using airtight food storage solutions will help maintain its freshness for an extended period.
If you want to keep it longer, freeze it! Just use aluminum foil, and it can last for about two months.
When you’re ready for round two, thaw it in the fridge overnight, and you’ll be savoring that creamy goodness all over again.
Final Thoughts
Making a Reese’s cheesecake isn’t just a baking project; it’s an experience. Honestly, each step is a bit like a mini-celebration, with the scent of peanut butter filling my kitchen. I can’t help but smile when I fold in those chopped Reese’s cups, imagining how delightful it’ll taste.
And let’s be real, every bite is pure joy. If you’ve never tried making this creamy masterpiece, don’t stress; it’s easier than you think. Plus, even if it’s not perfect, it’ll still taste amazing, and who doesn’t love that?
I may or may not have accidentally spilled a bit of batter, but hey, it adds character, right? So roll up your sleeves, embrace the chaos, and indulge!