
I’ve got to confess, when I think of home, I think of Biko—this perfectly sweet sticky rice cake that’s a staple in Filipino gatherings. It always takes me back to those warm family nights, where every bite felt like a hug. If you’ve never made it before, don’t worry; it’s easier than it sounds. Just wait until you taste that gooey goodness. Curious about how to whip up this comforting treat? Let’s explore together.
Why You’ll Love This Recipe
You mightn’t realize it yet, but this Biko recipe is about to become your new go-to dessert.
Imagine this: a sweet, sticky bite of heaven that just melts in your mouth. As a Filipino sticky rice cake, Biko brings that cozy, homey feeling, making you feel like you’re wrapped in a warm blanket.
Trust me, the combination of glutinous rice, creamy coconut milk, and rich brown sugar is simply irresistible. I still remember the first time I made it—let’s just say I didn’t leave any leftovers.
It’s surprisingly forgiving too. I mean, if I can whip it up without burning down my kitchen, you can. You’ll end up impressing friends or family, thinking, “Did I just become a dessert guru?”
Equipment List
When it comes to making Biko, having the right equipment on hand can make all the difference in the world.
You’ll need a pot for cooking the sticky rice—that’s a must. A spatula works wonders for stirring, so don’t skip that.
I always have a baking pan ready; it’s where the magic happens. Plus, grab a measuring cup; measuring coconut milk and sugar precisely guarantees a sweet, sticky masterpiece. A professional kitchen torch can add a delightful finishing touch to your Biko, enhancing its visual appeal and flavor.
Of course, a steamer or microwave comes in handy for reheating leftovers, which, let’s be honest, are the best part. Think about it, how can you enjoy that warm, gooey goodness again?
Equipping yourself well with artisan baking equipment makes the process fun and stress-free, and I’m here for that.
Our Ingredients
When it comes to making Biko, it’s really all about the ingredients. You want to make sure you have quality items because they’re the heart of this delightful Filipino sticky rice cake. Each ingredient plays a part in creating that perfect balance of sweetness and creaminess.
Trust me, once you have these gems in your kitchen, you’re only a few steps away from a luscious treat that warms the soul. Don’t you love that feeling of anticipation when everything you need is right at your fingertips? It’s like preparing for a culinary adventure.
Here’s what you’ll need to whip up this delectable Biko:
- 3 cups glutinous (sticky) rice
- 2 cups coconut milk, divided
- 1 cup water
- 1 1/2 to 2 cups brown sugar
- Pinch of salt
Now, let’s dive a little deeper into these ingredients. Glutinous rice is a must; it’s what gives Biko its characteristic sticky texture. If you’ve never tried using glutinous rice before, you’re in for a treat—it’s super soft and chewy when cooked.
Coconut milk is the star here, lending that rich, creamy flavor we all adore. As for the brown sugar, the amount can vary depending on your sweet tooth. I mean, who doesn’t appreciate a little extra sweetness?
The pinch of salt? That’s just to enhance all those luscious flavors. And if you’re feeling adventurous, you can always jazz it up with pandan or ube; the sky’s the limit!
Step-by-Step Instructions
Making Biko is a delightful experience that combines simplicity with the pleasures of rich flavors. Trust me, once you start mixing the ingredients, the anticipation will have you dreaming of that sweet, sticky goodness. Let’s dive right in so you can savor this delicious Filipino treat in no time.
1. Prepare the Rice: Start with 3 cups of glutinous (sticky) rice—give it a good rinse to remove excess starch.
Then, soak it in water for a few hours. This is essential because it helps the rice cook evenly and achieve that wonderful chewy texture. Investing in a luxury pasta maker can also enhance your culinary journey, allowing for even more delightful creations.
2. Cook the Rice: After soaking, drain the rice and transfer it to a pot. Combine it with 1 1/2 cups of coconut milk and 1 cup of water.
Cook on low heat for about 20 minutes, stirring occasionally, until the rice becomes soft and the liquid is absorbed. You want it to be thick but still slightly sticky; this is what makes Biko so irresistible.
3. Add Sweetness: Now it’s time for the magic ingredient: brown sugar. Stir in 1 1/2 to 2 cups (depending on your taste) and a pinch of salt into the rice mixture.
Keep cooking and stirring until it thickens up and gets all gooey. Just imagine the sweet aroma filling your kitchen—it’s hard to resist, I know!
4. Make the Caramel Topping****: While your rice is cooking, grab a separate pan. Simmer the remaining 1/2 cup of coconut milk with about 1/2 cup of brown sugar over low heat.
Stir this mixture until it transforms into a rich caramel (commonly referred to as latik). This will be your delectable topping, so keep an eye on it to avoid burning—slow and steady wins the race.
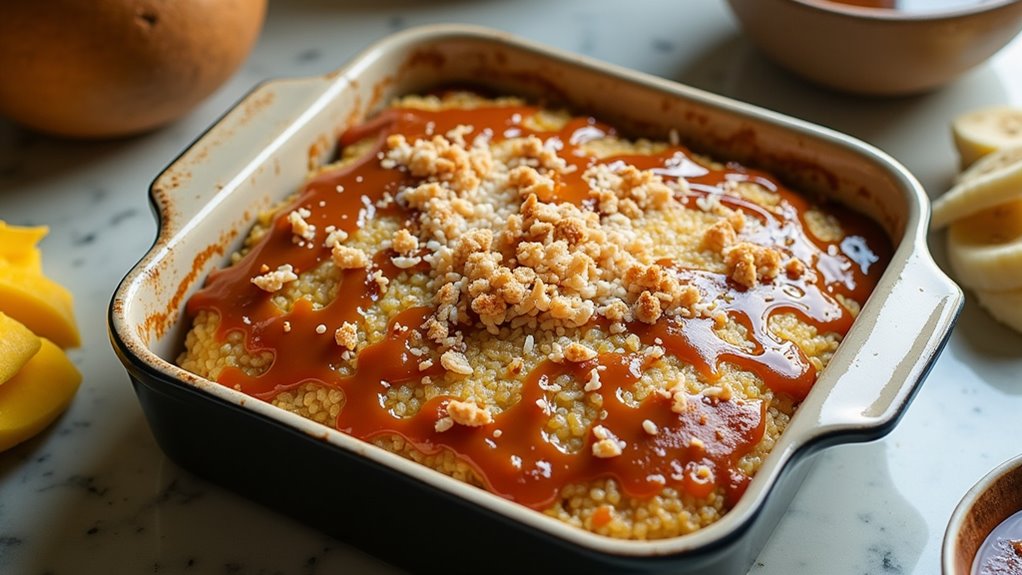
5. Combine and Bake: Once your rice mixture is thick and sticky, fold it gently so the grains stay intact.
Pour this luscious rice into a baking dish, spreading it out evenly. Drizzle that dreamy caramel topping over the rice.
Pop it into a preheated oven at 350°F and bake for 30 to 60 minutes. You’ll know it’s ready when the top gets bubbly and slightly browned—it’s like magic happening inside your oven. Grill smoker combo can elevate your outdoor cooking experience as you await the delicious results.
Enjoy the delightful aroma wafting through your home as you await the final result.
Once baked, let it cool slightly before digging in. You can serve it warm for an extra cozy vibe.
Tips & Variations
After all that hard work cooking and baking your Biko, let’s talk about ways to make this tasty treat even more delightful.
First off, when folding the rice mixture, be gentle—keeping the grains intact is key. You don’t want a mushy mess, right?
If you’re feeling adventurous, try adding pandan or ube for a fun flavor twist! Trust me, your taste buds will thank you.
And let’s not forget about leftovers—simply refrigerate them and reheat by steaming or zapping them in the microwave. Easy-peasy!
I’ve even tried swirling in some chocolate sauce as a daring experiment. Spoiler alert: it was a disaster. But you might’ve better luck!
Keep it classic or get creative; it’s all about what makes you smile.
How to Serve?
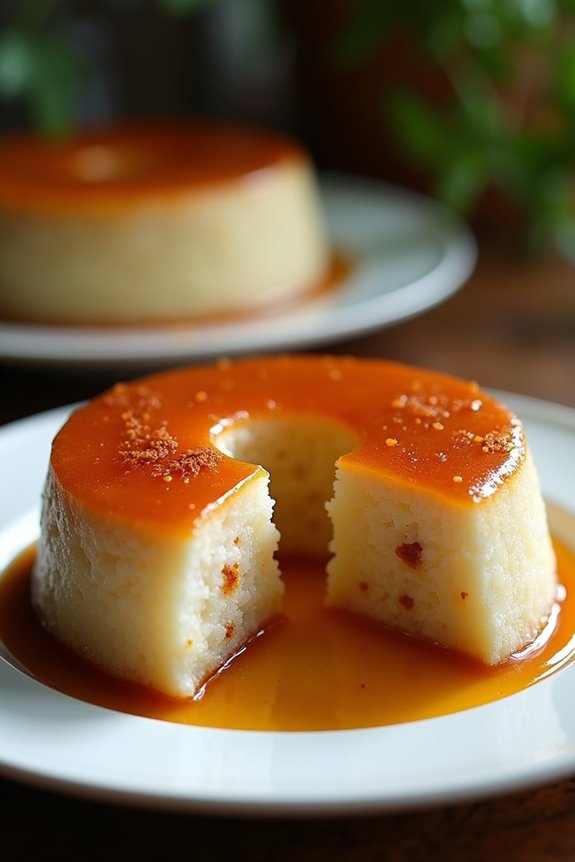
Serving Biko is like setting the stage for a mini celebration; it’s all about sharing that delightful, sticky goodness with friends and family. I usually cut it into small squares, making it easier for everyone to grab a piece without it sticking to my fingers—been there, done that.
I love serving it warm, right out of the oven, drizzled with that luscious caramel topping. It’s a sweet treat that sparks joy, trust me. I often lay it out on a pretty platter, garnished with some toasted coconut flakes for flair.
As guests partake, I can’t help but smile, thinking about all the happy faces. Honestly, who can resist this sweet, sticky goodness?
Storage & Reheating Guide
While you may want to plunge into that delicious Biko right away, knowing how to store and reheat it can make all the difference in keeping its delightful texture and flavor intact.
After devouring a few pieces, pop any leftovers into an airtight container and tuck them in the fridge. Trust me, they’ll stay fresh for up to a week.
When it’s time to enjoy again, you have options—steam or microwave, but be careful not to overdo it. I once nuked mine for too long, and let’s just say it was a sticky situation. A couple of minutes should do the trick.
You’ll be back to that yummy, gooey goodness in no time. Who says leftovers can’t be fun? Also, consider pairing it with a high-end waffle maker for a unique twist on dessert; high-end waffle maker can elevate your Biko experience further.
Final Thoughts
Making Biko is like wrapping a piece of my childhood in a delicious, sticky embrace. It’s not just a dessert; it’s a memory. Remember those family gatherings where Biko was the star? I can’t help but smile thinking about it.
Sure, you might slip and get a little sticky while preparing it—that’s half the fun, right? Just don’t forget to gently fold the rice; we want it to stay intact, not turn into mush.
And that caramel topping? It’s a game changer. I love how Biko warms the soul after a long day. So, whether you’re sharing it with family or just indulging solo, I hope Biko brings a bit of joy to your day, just like it does for me.