
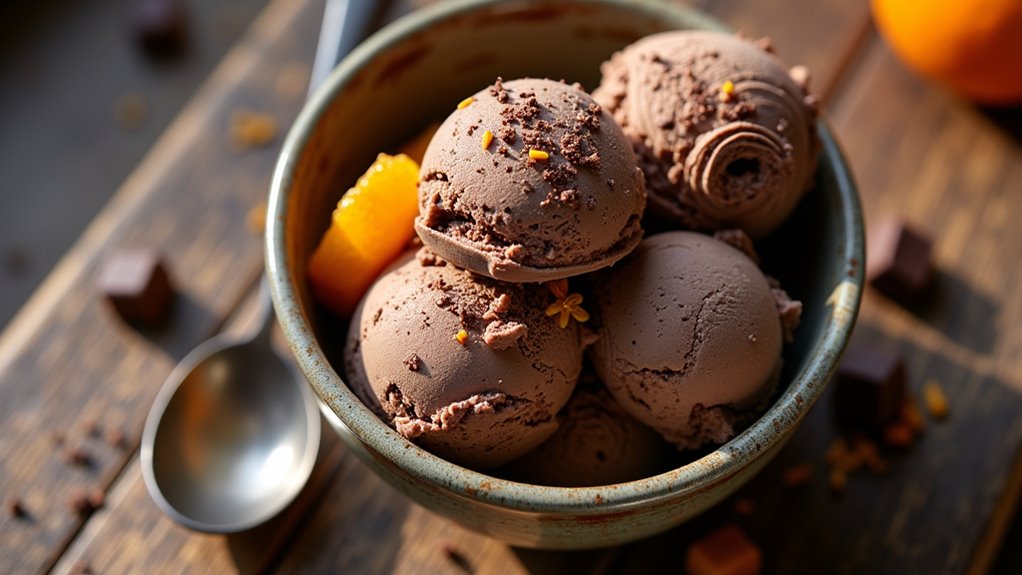
I’ve got to tell you about the Chocolate and Orange Ricotta Ice Cream I’ve made. It’s so creamy, with a zing from the orange that totally complements the rich chocolate. I mean, who knew ricotta could be this fancy? I’ll admit, I wasn’t sure how it would turn out at first. But trust me, it’s practically foolproof, and if I can whip it up, so can you. Stick around, because I can’t wait to share the step-by-step on how to make this dreamy dessert.
Why You’ll Love This Recipe
You’re going to love this chocolate and orange ricotta ice cream recipe for so many reasons.
First off, the blend of creamy ricotta with rich chocolate and zesty orange is just magical. It’s like an upbeat dance party in your mouth. Imagine serving this to friends—they’ll think you’re a gourmet genius, even if you accidentally mix up sugar and salt. I’ve been there; don’t worry.
Plus, it’s surprisingly easy to whip up. You don’t need a degree in culinary arts, just a bit of patience and a good playlist. And the satisfaction of homemade ice cream? There’s nothing quite like it.
Equipment List
When it comes to whipping up your chocolate and orange ricotta ice cream, having the right tools at your fingertips makes all the difference.
First, you’ll need a trusty saucepan for infusing the cream and milk. A whisk is essential, because who wants lumpy ricotta? Trust me, I’ve been there.
An ice cream maker is a must if you want that creamy texture, but hey, you can also use a container and stir like a champ if you don’t have one. Don’t forget a fine-mesh strainer for that silky finish.
Finally, grab a couple of mixing bowls—trust me, you’ll need them. With these tools, you’ll be well on your way to ice cream bliss. An artisan cheese making kit can enhance your knowledge and skills for creating delicious dairy desserts. Sweet success awaits!
Our Ingredients
When you’re ready to create the luscious Chocolate and Orange Ricotta Ice Cream, the first step is gathering your ingredients. It’s pretty straightforward, but you’ll want to make sure you have everything you need to avoid any surprise trips to the grocery store.
Trust me, I’ve learned the hard way that half-hearted improvisations can lead to less-than-ideal flavor explosions—or worse, a complete disaster. So let’s get prepping by listing out what you’ll need for this dreamy ice cream treat.
Here’s what you’ll need:
- 250 ml double cream (or heavy cream)
- 100 ml whole milk
- Zest of 1 orange
- 240 g ricotta cheese
- 6 egg yolks
- 90 g caster sugar
- 50 g 70% dark chocolate, chopped
Now, let’s chat about those ingredients a bit.
Ricotta is the star here, contributing a lovely creaminess that contrasts with the rich dark chocolate, while the orange zest adds a bright, citrusy vibrancy that balances everything out beautifully.
Make sure you get a good quality chocolate; it really makes a difference. Dark chocolate at 70% is perfect because it’s rich, but not too sweet, and helps keep the overall flavor of the ice cream refined and sophisticated.
And speaking of orangey flavors, don’t skimp on the zest! The more, the merrier—and there’s nothing quite like that fresh burst of citrus to elevate your ice cream game.
Step-by-Step Instructions
Making your own Chocolate and Orange Ricotta Ice Cream isn’t just a cooking task; it’s an adventure filled with luscious flavors and delightful textures. Trust me, once you immerse yourself in these simple steps, you’ll be wondering why you never tried making ice cream from scratch before.
Now, let’s get started with this creamy, dreamy dessert that’s sure to impress!
Step-by-Step Instructions
1. Infuse the Cream Mixture
In a saucepan, combine 250 ml of double cream (or heavy cream), 100 ml of whole milk, and the zest of 1 orange. Warm the mixture over low heat, allowing the flavors to mingle and the orange zest to infuse into the cream. Let it steep for about 1 hour. (Don’t boil! You want it to just singe a little but not start a full-on opera.)
2. Whisk in the Ricotta
After the hour of infusing, it’s time to add 240 g of ricotta cheese into the cream mixture. Whisk it in gently until everything is well combined and slightly heated—just below boiling point, please! (We’re more about creaminess than scrambling eggs here.)
3. Prepare the Egg Yolks and Sugar
In a separate bowl, whisk together 6 egg yolks and 90 g of caster sugar until the mixture is smooth and light in color. This is where the magic of creaminess happens! (Think of it as getting your egg yolks all dressed up for their big moment.)
4. Combine Hot Mixture with Egg Yolks
Now comes the slightly daring part—slowly pour the hot ricotta mixture into the egg yolk mixture, whisking constantly. This gentle blending keeps the yolks from turning into a scramble. (I mean, you want ice cream, not a breakfast mishap, right?)
5. Thicken the Mixture
Pour the combined mixture back into the saucepan over low heat. Stir consistently until the mixture thickens enough to coat the back of a spoon. This usually takes about 5-8 minutes. (You’re looking for that perfect silkiness!)
6. Strain and Chill
Once thickened, strain the mixture through a fine sieve into a bowl to remove any clumps. Cover the bowl and chill it in the fridge for at least 4 hours—overnight is even better if you can manage the wait. (Trust me, the anticipation makes the final product even sweeter.)
7. Churn the Ice Cream
After your mixture is nice and chilled, it’s time to churn! Pour it into your ice cream maker and churn for about 20 minutes. In the last minute of churning, add 50 g of chopped 70% dark chocolate. (This is when things start to look and smell like pure joy.)
8. Freeze and Serve
Transfer the churned ice cream into a container and freeze for at least 8 hours before serving. This step is essential for that perfect scoop! (I know, the waiting game can be tough. But patience is a virtue when it comes to ice cream.)
And there you have it! A rich, decadent Chocolate and Orange Ricotta Ice Cream waiting to be enjoyed. Additionally, if you’re inspired by this creamy adventure, consider investing in some essential cheese making equipment to elevate your culinary skills even further.
As you savor each spoonful, remember, you made it from scratch—now that’s something to be proud of! Enjoy, and don’t forget to share (or not, no judgment here).
Tips & Variations
After churning your ice cream to creamy perfection, let’s discuss how to kick things up a notch with some tips and variations that can make this treat even more exciting.
If you’re feeling adventurous, try adding a splash of vanilla extract for an extra depth of flavor. I once tossed in some chopped pistachios, and wow, what a delightful crunch!
Don’t shy away from switching the chocolate; white chocolate works beautifully too. Oh, and if you find yourself without ricotta, mascarpone is a fabulous alternative. Trust me, it gives a rich twist.
Want it boozy? Just a little orange liqueur adds a grown-up touch. Ice cream should be fun, so let’s experiment, right? What could possibly go wrong?
How to Serve?
Serving your Chocolate and Orange Ricotta Ice Cream is as important as making it, and there are a few fun ways to do it that’ll impress your family and friends.
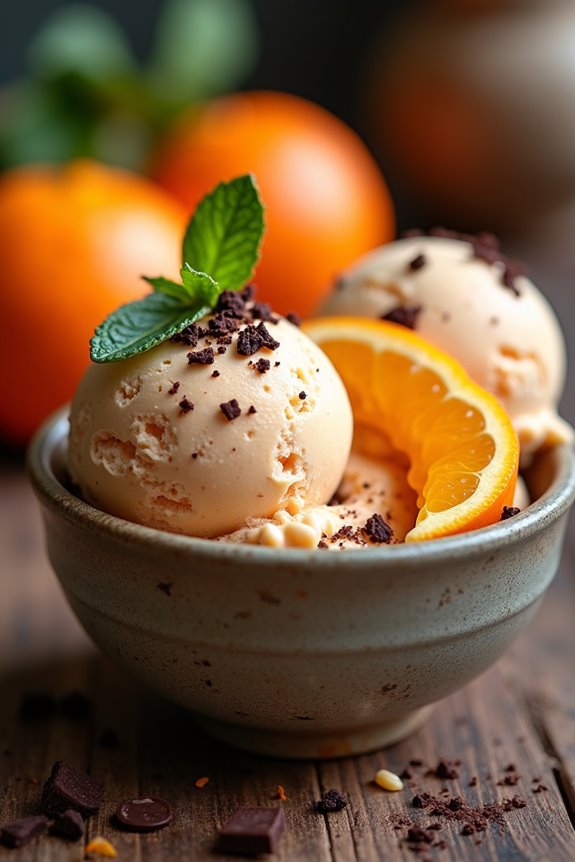
Envision this: I scoop the creamy goodness into glamorous bowls, adding a drizzle of chocolate sauce on top. Yes, chocolate sauce—more is always better, right? You can sprinkle extra orange zest or even toss in some crushed nuts for a little crunch.
Imagine their faces as they dig in. I also love using cute ice cream cones for a playful twist. If I’m feeling fancy, I’ll pair it with fresh berries or a sprig of mint.
Trust me, it’s all about making it look as delicious as it tastes.
Storage & Reheating Guide
You’ve whipped up the most delightful Chocolate and Orange Ricotta Ice Cream, and now it’s time to think about where it’ll hang out when it’s not being devoured.
First things first: grab an airtight container. Trust me, no one wants ice crystals ruining this creamy masterpiece. I usually store mine in the back of the freezer, out of sight and mind.
Just be sure to eat it within two weeks—if it lasts that long.
When you’re ready for a scoop, let it sit at room temperature for about 10 minutes. Seriously, no one likes rock-hard ice cream.
If you’re feeling adventurous, mix in some fresh orange zest as you serve. It’s a little extra zing that always impresses. Additionally, consider using vacuum seal bags for longer storage to keep your ice cream fresh and prevent freezer burn.
Final Thoughts
When I think about chocolate and orange ricotta ice cream, I can’t help but smile at how luxury can be homemade. It’s simply delightful to whip up a creamy treat that feels like a fancy dessert from an Italian café, but it starts in my own kitchen.
Every spoonful is a bit of joy, combining rich chocolate and invigorating orange zest. Honestly, who knew ricotta could be so versatile?
Sometimes, I’m amazed at how easy it all is, even for someone like me who occasionally burns toast. If you’ve got a few ingredients and a bit of time, why not give it a shot?
Your taste buds will thank you, and hey, you might just impress some friends, too.