
I’ve always believed that baking cookies is like giving someone a little piece of your heart. When it comes to chocolate chip cookies, I can’t resist the warm, gooey goodness they bring. And let’s be honest, mine don’t always come out perfect—sometimes they’re a little too crispy or a bit too doughy. But hey, what’s a cookie without a little love? So, want to whip up something special? I promise you’ll be glad you did.
Why You’ll Love This Recipe
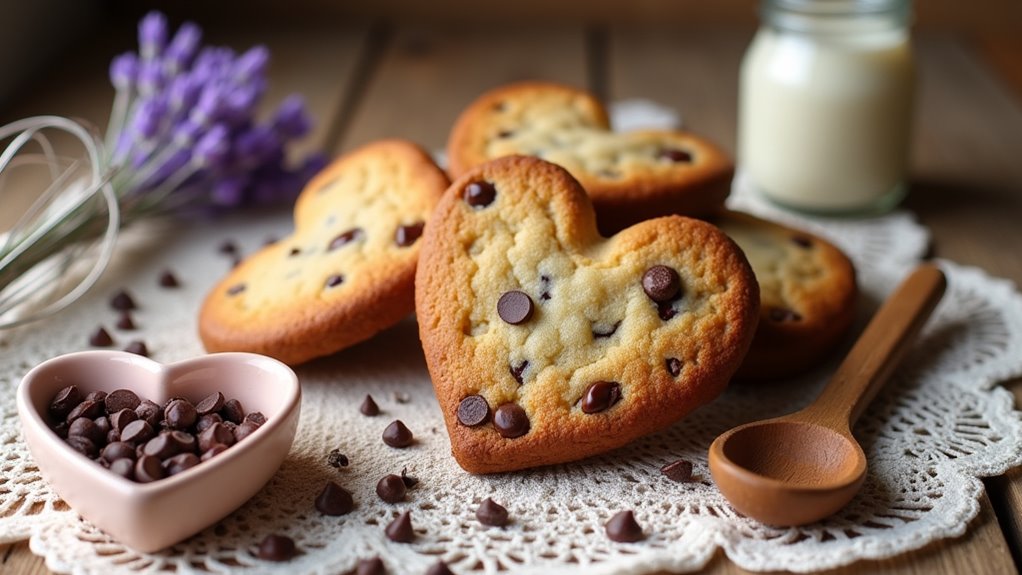
Even if you’re not a baking expert, you’re going to love this chocolate chip cookie recipe. Imagine this: heart-shaped chocolate chip cookies, all warm and delicious, making any day feel special.
Trust me, once you sink your teeth into one of these treats, you’ll understand the love I put into them. They come together quickly—who doesn’t adore a recipe that doesn’t break the bank or your brain?
With simple ingredients, you can whip up a batch that’s perfect for any occasion, or just because. And let’s be honest, do you really need a reason to indulge?
Plus, just think about how cute they’ll look at your next gathering. Everyone will be impressed, and you’ll feel like a baking superstar, no sweat involved.
Equipment List
When it comes to baking heart-shaped chocolate chip cookies, having the right equipment makes all the difference. Trust me, no one wants a cookie catastrophe.
For this sweet endeavor, you’ll need mixing bowls—preferably two—one for dry and one for wet ingredients. A whisk or a mixer will make creaming butter and sugars a breeze. Oh, don’t forget a spatula, for scraping down those bowls.
You’ll also need measuring cups and spoons, because accuracy is key, and a baking sheet to hold your freshly shaped hearts. If you have silicone molds, use them for cute shapes. If not, a heart-shaped cookie cutter will work too. An essential tool to consider is a box grater, which can help you finely grate chocolate or even zest citrus for added flavor.
Just remember, it’s about baking with love, imperfections and all—embrace your inner cookie artist.
Our Ingredients
When it comes to making the perfect heart-shaped chocolate chip cookies, the ingredients you choose can make all the difference in flavor and texture.
Imagine biting into a warm, gooey cookie with the rich taste of chocolate melting in your mouth. Yum, right? But before you can get to that dreamy moment, you need to gather your ingredients.
Let’s break it down so you know exactly what you’ll need to make these sweet treats in your own kitchen.
Here’s what you’ll need:
- 1 ¾ cups all-purpose flour
- ¾ tsp baking powder
- ½ tsp baking soda
- ¼ tsp kosher salt
- ½ cup butter (room temperature)
- ⅔ cup light brown sugar
- ½ cup granulated sugar
- 1 large egg
- 1 tsp vanilla extract
- 1 cup chocolate chips
Now, let’s chat a little about these ingredients. First off, I always recommend using room temperature butter. Trust me on this—it makes creaming the butter and sugars so much easier and helps achieve that perfect texture.
Those sugar-butter clouds of happiness need to be light and fluffy for the best cookies. And don’t overlook the importance of quality chocolate chips; they’re the stars of the show, after all.
Go for semi-sweet chips if you love a classic chocolate cookie, or try dark chocolate for a richer treat. Also, if you’re feeling adventurous, toss in some chopped nuts or a sprinkle of sea salt for an added twist.
Just remember, baking is about experimenting and having fun, so don’t be afraid to play with the ingredients a bit.
Step-by-Step Instructions
Making heart-shaped chocolate chip cookies isn’t just a baking project; it’s an experience filled with sweet anticipation. The aroma of warm cookies wafting through your kitchen is enough to brighten anyone’s day. So, grab those ingredients, roll up your sleeves, and let’s get baking!
Step-by-Step Instructions
- Preheat the Oven: First things first, preheat your oven to 375°F (that’s about 190°C in case you prefer a Celsius world). A warm oven is essential for those golden edges and a chewy center—you want your cookies to sing with joy.
- Combine the Dry Ingredients: In a mixing bowl, whisk together 1 ¾ cups all-purpose flour, ¾ teaspoon baking powder, ½ teaspoon baking soda, and ¼ teaspoon kosher salt until well combined. This step is simple, but those little ingredients are the magic makers, so give them some attention.
- Cream the Butter and Sugars: In a large bowl, beat ½ cup of room temperature butter with ⅔ cup light brown sugar and ½ cup granulated sugar. Using a mixer makes this quick and easy—mix until the mixture is light and fluffy. Seriously, this is where the cookie dreams start to come alive.
- Add the Egg and Vanilla: Crack in 1 large egg and pour in 1 teaspoon of vanilla extract. Mix everything well again, until these ingredients are fully incorporated—just remember not to go overboard; we’re looking for a smooth consistency, not a pancake batter.
- Incorporate Dry Ingredients: Gradually add your dry ingredient mixture to the wet ingredients. This is your chance to embrace your inner baker—mix gently until just combined (don’t overmix it—it’s okay if it’s a bit lumpy). No one wants tough cookies, right?
- Fold in the Chocolate Chips: Time for the chocolate chips! Stir in 1 cup of your preferred chocolate chips—semi-sweet is a classic, but dark chocolate could bring a delightful twist. Fold them in with your spatula and daydream about that melty chocolate goodness.
- Shape the Cookies: If you’re feeling fancy, scoop the dough into silicone heart-shaped molds. If you’re a hands-on type, you can shape them by hand or use a heart-shaped cookie cutter on your baking sheet. Just remember, they’ll spread a little, so leave some space between each one.
- Bake the Cookies: Place your cookie molds or sheet in the preheated oven and bake for about 12 to 14 minutes, or until the edges are golden brown. Keep an eye on them—every oven is a little different, and you want to catch them before they get too crispy.
- Cool and Enjoy: Once they’re done, take them out of the oven and let them cool in the mold or on the baking sheet for a few minutes. After they firm up a bit, you can transfer them to a wire rack to cool completely.
Patience is key here; you want to avoid melting your fingers when you grab one (though, who could blame you if you couldn’t resist?).
And that’s it! You’ve just made delightfully cute heart-shaped chocolate chip cookies. Perfect for sharing…but no one will judge if you keep them all to yourself. Enjoy each gooey bite, and maybe even share a little love along the way. Elevating your baking experience can be enhanced with gourmet cooking appliances that help you create perfect treats effortlessly.
Tips & Variations
While I could go on and on about the joy of baking chocolate chip cookies, let’s talk about some tips and variations that’ll take your heart-shaped creations to the next level.
First, consider adding a pinch of sea salt on top before baking for that sweet-and-salty magic.
Craving something a little different? Swap half the chocolate chips for chopped nuts or even dried fruit—think love notes in cookie form.
If you want a chewier texture, try chilling the dough for about 30 minutes before baking—it’s worth it.
And for an appealing twist, use festive sprinkles in the dough.
Trust me, nothing says “I love you” like extra sprinkles.
Happy baking, and be prepared for cookie love overload.
How to Serve?
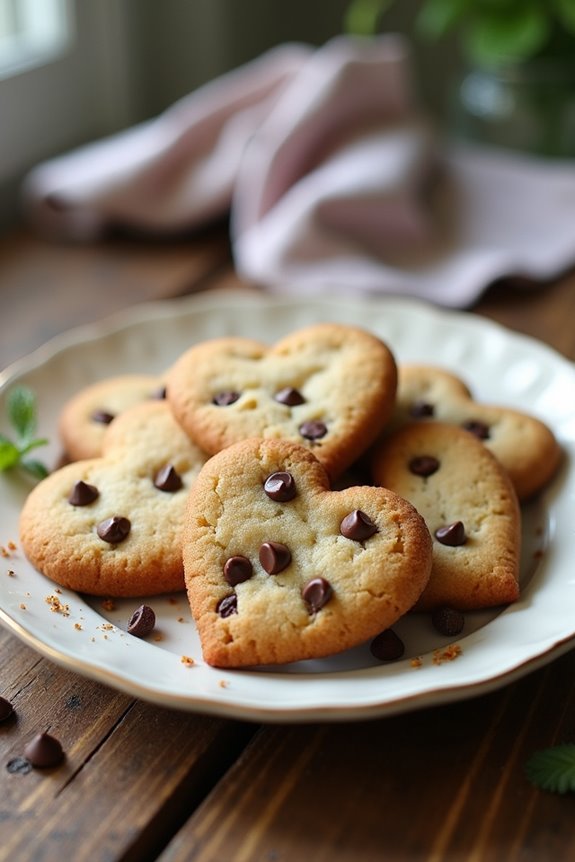
Serving heart-shaped chocolate chip cookies can be just as fun as baking them. I love stacking them on a cute plate, maybe even dusting a little powdered sugar on top for flair.
How about you? I often drizzle some melted chocolate or caramel over them, creating swirls that look like a mini art project. It’s definitely a crowd-pleaser.
For special occasions, I throw some festive sprinkles on top. Have you ever seen a cookie sparkle? It’s magical.
And don’t forget to serve them warm, maybe with a glass of cold milk—absolute bliss. You might even catch a loved one smiling as they take their first bite. Trust me, it’s a great way to share some love.
Storage & Reheating Guide
Although storing heart-shaped chocolate chip cookies may seem straightforward, there’s definitely an art to keeping them fresh and delicious.
First off, let your cookies cool completely; I learned that the hard way when I put warm cookies in a container once, and, well, let’s just say soggy isn’t a great look.
For storage, grab an airtight container and layer between parchment paper. They’ll hold their charm for about a week—if they last that long. Utilizing airtight food storage can significantly extend their freshness.
If you need to reheat, just pop them in the microwave for 10-15 seconds, and voilà, warm and gooey goodness returns.
I swear, they disappear faster than I can make them. So, trust me, keep an eye on those cookies. They’ve a sneaky way of calling your name.
Final Thoughts
After talking about keeping those heart-shaped chocolate chip cookies fresh and warm, it’s only fitting to wrap things up with some final thoughts.
Baking these delights is more than just mixing flour and sugar; it’s about love and memories. I mean, who doesn’t love the aroma of cookies wafting through the house? Trust me, that’s a mood lifter.
When you share these cookies, you’re sharing a piece of your heart. And if they don’t turn out perfect? No worries, I’ve accidentally made cookie blobs instead of hearts before. It happens.
Just remember, the joy is in the process. So, get your loved ones close, whip up a batch, and enjoy those moments. After all, that’s what cooking is truly about.