
You know those days when you just want something sweet and a little special? That’s when I whip up these heart-shaped chocolate chip cookies. They’re not just your average cookie—they’re soft, chewy, and adorable. Plus, they make my kitchen smell amazing. I mean, who wouldn’t want that? So, let’s get to it and create a little magic in the kitchen, because I promise these cookies are worth every bit of effort. Ready to jump in?
Why You’ll Love This Recipe
When you sink your teeth into these heart-shaped chocolate chip cookies, you’ll understand exactly why they’re a favorite in my kitchen. Seriously, what’s not to love?
They’re soft, chewy, and bursting with gooey chocolate goodness. I mean, they’re heart-shaped—how cute is that? You could impress someone special or just treat yourself after a long day.
As I mix the ingredients, I can’t help but sneak a few chocolate chips. Okay, maybe more than a few. Who’s counting, right?
And when they come out of the oven, the aroma just fills my home, making it feel all warm and cozy.
If you’re looking for a sweet pick-me-up, these heart-shaped chocolate chip cookies are your answer. Trust me on this.
Equipment List
Baking heart-shaped chocolate chip cookies is a delightful experience, but you’ll want to make sure you have the right tools on hand before you get started.
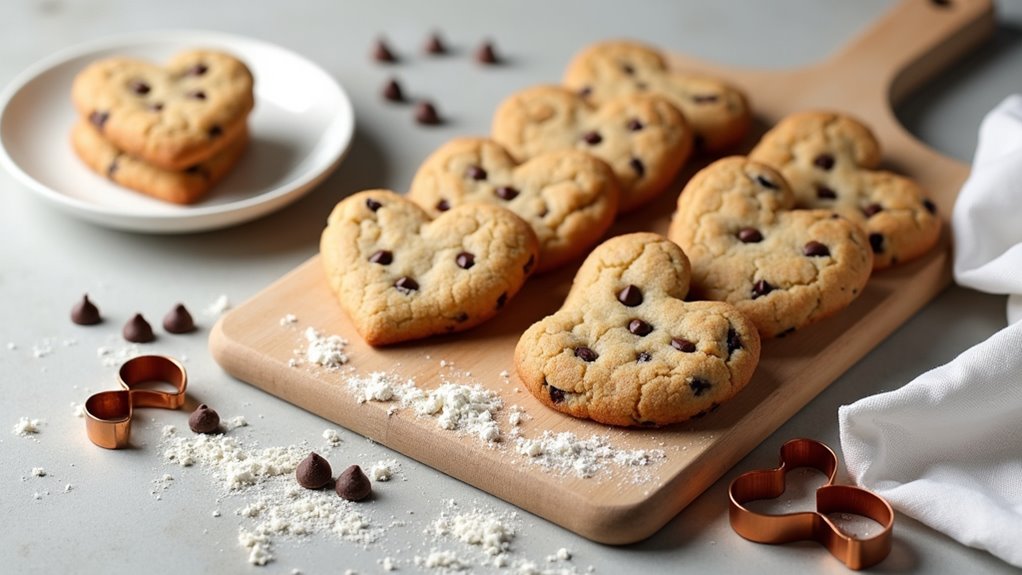
First, grab some heart-shaped silicone molds; trust me, they make all the difference in keeping those adorable shapes. You’ll also need a mixing bowl—preferably a large one, unless you’re aiming for a flour explosion. A hand mixer or stand mixer will save your arm muscles, so I highly recommend that too.
Don’t forget a baking sheet, a measuring cup for accuracy, and, of course, mixing spoons. Silicone baking mats help prevent sticking and make cleaning up a breeze. And while I’d like to think I can eyeball everything, precision does help—unless you enjoy cookie surprises.
Ready to bake up some love?
Our Ingredients
When it comes to baking heart-shaped chocolate chip cookies, the ingredients are the real MVPs. They bring the flavor, texture, and sweetness that makes these cookies so special. And let me tell you, it’s all about finding that perfect balance. I mean, who wouldn’t want a gooey inside with a slight crunch on the outside, right?
So, let’s gather up what you’ll need to create these delightful treats for yourself or someone you love.
Here’s a handy list of everything you’ll need to whip up these delicious cookies:
- 1 ¾ cups all-purpose flour
- ¾ tsp baking powder
- ½ tsp baking soda
- ¼ tsp kosher salt
- ½ cup butter (room temperature)
- ¾ cup light brown sugar
- ½ cup granulated sugar
- 1 large egg
- 1 tsp vanilla extract
- ½ cup milk chocolate chips
- ½ cup semi-sweet chocolate chips
Now, before you rush off to the kitchen, let’s chat about some ingredient considerations. First off, the butter needs to be at room temperature; otherwise, you’ll be left with funky clumps of butter in your dough. And trust me, no one wants that – it’s like trying to control a wild puppy, just mess everywhere.
Also, using a mix of milk and semi-sweet chocolate chips adds layers of flavor; the milk chocolate brings a creamy sweetness while the semi-sweet provides a nice contrast.
And if you’re feeling adventurous, you could even throw in some nuts or sea salt for that little extra something. Just imagine the joy on your loved one’s face as they bite into a heart-shaped cookie made with care and a pinch of fun!
Step-by-Step Instructions
Making heart-shaped chocolate chip cookies is a delightful adventure that’s both simple and rewarding. Mix and bake your way to sweetness, and soon you’ll have cookies that aren’t just tasty, but also adorable. Let’s get right into the step-by-step instructions so you can bake these beauties.
- Preheat your oven to 375°F. This is the perfect temperature for our cookies to get that nice golden color. While it heats, set up your heart-shaped molds on a baking sheet. If you’ve got silicone molds, even better—this will help your cookies pop out perfectly after baking.
- In a bowl, mix together 1¾ cups of all-purpose flour, ¾ teaspoon of baking powder, ½ teaspoon of baking soda, and ¼ teaspoon of kosher salt. This mixture is your dry team—but don’t worry; they’ll be joining forces with the wet ingredients soon enough. (Tip: Give it a quick whisk to verify everything is combined and aerated.)
- Cream together ½ cup of butter (make sure it’s at room temperature; no one likes cold butter clumps) and ¾ cup of light brown sugar along with ½ cup of granulated sugar in a mixing bowl. Mix until it looks light and fluffy—this is where the magic begins! (It usually takes about 2-3 minutes of mixing.)
- Add in 1 large egg and 1 teaspoon of vanilla extract. Mix until it’s all incorporated, but don’t go overboard. Aim for a smooth, creamy batter that smells delightful, but try to avoid turning it into a frothy potion.
- Gradually stir in the dry ingredients from step 2 into the wet mixture. You can do this in batches; your goal is a soft cookie dough. (Remember, don’t overmix—the dough should be a bit lumpy and cozy.)
- Fold in ½ cup of milk chocolate chips and ½ cup of semi-sweet chocolate chips. Give it a good but gentle mix so the chips are evenly distributed throughout the lumpy goodness.
- Scoop dough into the heart molds, making sure to fill each mold but not overstuff it. Flatten the tops slightly with the back of a spoon or your fingers. (This will help them maintain their heart shape while they bake.)
- Bake for 12-14 minutes in your preheated oven. You’ll know they’re ready when the edges look golden brown and the centers are slightly soft—because who doesn’t love a chewy center?
- Once baked, remove the cookies from the oven and let them cool in the molds for a few minutes. After that, carefully transfer them to a wire rack to cool completely. Make sure they’re fully cooled before trying to eat or serve them; you want those edges to be crisp and the centers to stay chewy.
And there you have it! A lovely batch of heart-shaped chocolate chip cookies ready to impress. Whether for a loved one or just a well-deserved treat for yourself, these cookies are sure to bring smiles around. Happy baking! Additionally, you can pair your cookies with a side of homemade delights using a gourmet cheese making kit, elevating your sweet treats even further.
Tips & Variations
While you might think heart-shaped cookies are just for Valentine’s Day, I’ve discovered that they can brighten up any day of the year. Trust me, these cookies aren’t just cute; they’re delicious too.
If you’re feeling adventurous, try swapping out the chocolate chips for your favorite mix-ins, like nuts or candies. You could even sprinkle a pinch of sea salt on top for that sweet-and-salty kick.
And here’s a tip: using silicone molds helps keep those heart shapes intact, so don’t skimp on those.
Oh, and for a more buttery flavor, brown the butter before mixing. Just be careful not to burn it—I’ve had my fair share of slightly charred disasters, and let’s just say, they weren’t winning any beauty contests.
How to Serve?
You know, serving heart-shaped chocolate chip cookies can be just as fun as making them—and they bring a smile to anyone’s face.
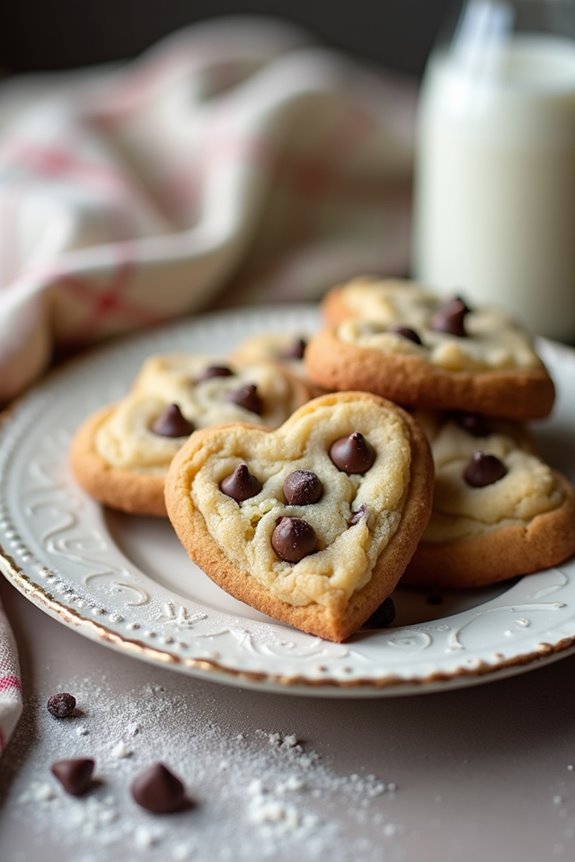
When I present these delights, I love to stack them on a cute plate, maybe sprinkle a few extra chocolate chips around for that extra touch. How about drizzling some melted chocolate over the top? It’s a game changer, trust me.
I also like to include some colorful napkins or even a few flowers for charm. Want to share? Wrap them up in a heart-themed treat bag for a sweet surprise.
Honestly, they’re perfect for any gathering—birthdays, anniversaries, or just because. Who wouldn’t want a cookie that says “I love you” without saying a word?
Storage & Reheating Guide
Even if you’ve managed to bake the perfect batch of heart-shaped chocolate chip cookies, knowing how to store and reheat them keeps the love alive long after they’re out of the oven.
To store, let them cool completely—no one wants a soggy cookie, right? Then, place them in an airtight container at room temperature. They’re usually good for about a week, but honestly, mine never last that long.
If you want to freeze them, just layer them with parchment paper in a freezer-safe bag, and they’ll keep for up to three months.
When you’re ready to indulge again, simply pop them in the microwave for a few seconds, or warm them in the oven. Enjoy that gooey chocolate goodness.
Final Thoughts
When you’ve baked up a batch of heart-shaped chocolate chip cookies, the satisfying aroma and the warm, gooey centers create a sense of joy that just can’t be beaten.
Honestly, there’s something magical about that first bite. You know, they mightn’t win any beauty contests—my shapes sometimes look more loveable than perfect—but who cares?
Each cookie is a delicious reminder that love is in the details. Share these treats with your favorite people, and watch their faces light up. Plus, they make any day feel special, don’t they?
Of course, if you eat the whole batch alone, no one will judge; I won’t tell. So grab those molds and get baking; you won’t regret it.
Happy baking!